I grew up in the San Francisco Bay Area, and first moved down to southern California to go to college. I was adamant that northern California (or "NorCal," for the obnoxious) was the superior side of the state, and I would never devolve into a southern California beach bum who wore cutoffs everywhere, read Us Weekly like it was Tolstoy and--worst of all--said "the 101" and "the 5" when talking about freeways.
Well, against my best predictions, I've lived in southern California for more than 11 years now, with seven of those years spent in Los Angeles itself. I still miss the Bay Area (and have dreams of living there, as soon as I obtain and then kill off a rich great-uncle so I can afford the real estate) but LA now feels like home as well.
I get annoyed when people make huge LA generalizations, like it's "so superficial" or "nobody in LA is actually from LA." The very fact that I defend it so stridently gives away my deep love for this crazy, complex, maddening, amazing city.
Right about now, you're probably wondering what this has to do with biscotti. Patience, pet.

I had a lot to learn when I first moved to LA, and these are things no movie or 90210 episode will teach you. I learned to always tell distances in minutes, not miles. I learned that no job is worth a soul-crushing commute to the Westside, and that the appropriate attitude during a celebrity sighting is casual disdain. And I learned about LA's seasons.
Oh ho ho, people from other parts of the country will sniff that "LA doesn't even have seasons," but they are absolutely wrong. We have Santa Ana season, the time in September and October where the hot winds blow west and whole mountain ranges combust in flames that last for weeks. We have that one freaky week that always happens in January or February where it's suddenly 90 degrees and folks take to sunbathing on the roofs.
And, best of all, we have May gray and June gloom, two delicious months when the marine layer hangs over the city like a shroud and doesn't burn off until the afternoon. I'm sure it's baffling and disappointing to tourists who come in the summertime expecting blazing sunshine and instead get overcast gray mornings, but I love it. It's the last pocket of civility before it gets blazing hot for four straight months, and I lap it up like a saucer of milk.
We are in the thick of June gloom right now, and every morning when I pad out to our living room and look out the balcony window, I see the San Gabriel mountains obscured by mist and palm trees barely peeking out of the fog. It makes me happy. It makes me want to sit by a fireplace and drink hot chocolate with pillowy whipped cream.
And that is why, in the middle of June, when much of the rest of the country is already sweltering, I, a resident of sunny southern California, enjoyed my chocolate biscotti with a big mug of hot cocoa.

These biscotti were richly chocolatey, with pockets of melted dark chocolate chunks and toasted almonds. They were perfect for dunking in hot chocolate and shoveling from mug to mouth just before they disintegrated from the heat and moisture.

But just as June gloom cannot be avoided, so too it cannot last forever. Soon--hopefully not this week, but quite possibly next--it will be sunny and warm when I first wake up, only to get sunnier and warmer with each passing day. Uch--that thought gives me the willies.
But even though I can't keep the sun away, I can figure out other ways to keep cool.

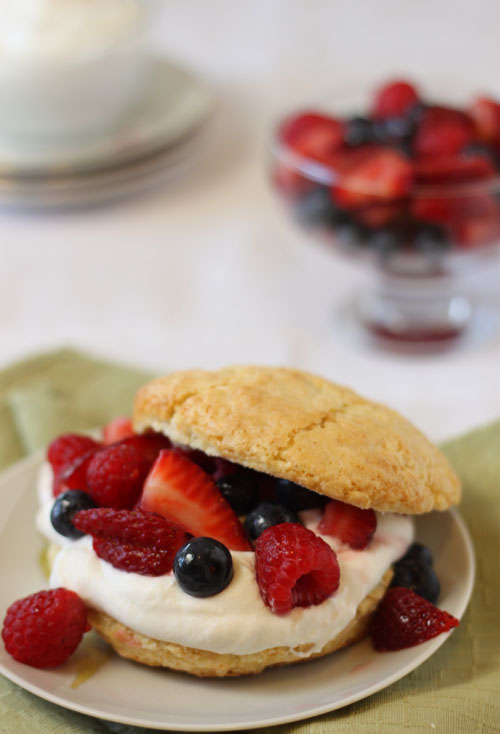
If hot chocolate's not in the cards, these biscotti are also great crumbled over a bowl of ice cream. You're looking at rich, creamy, calorie-riffic Haagen Daaz caramel ice cream with a little biscotti sidekick. Add some fresh berries, and the heat suddenly seems bearable.

Here's one final thing no one told me about LA: the jacarandas. These stunning trees bloom twice a year and paper our city with a thick layer of purple petals. My street is having a purple party and it makes me happy every time I see it. Oh, Los Angeles.

Jacque has the chocolate biscotti recipe and some great step-by-step directions on her blog. Check it out!
Read More...
Summary only...